Frozen yogurt cake: the recipe
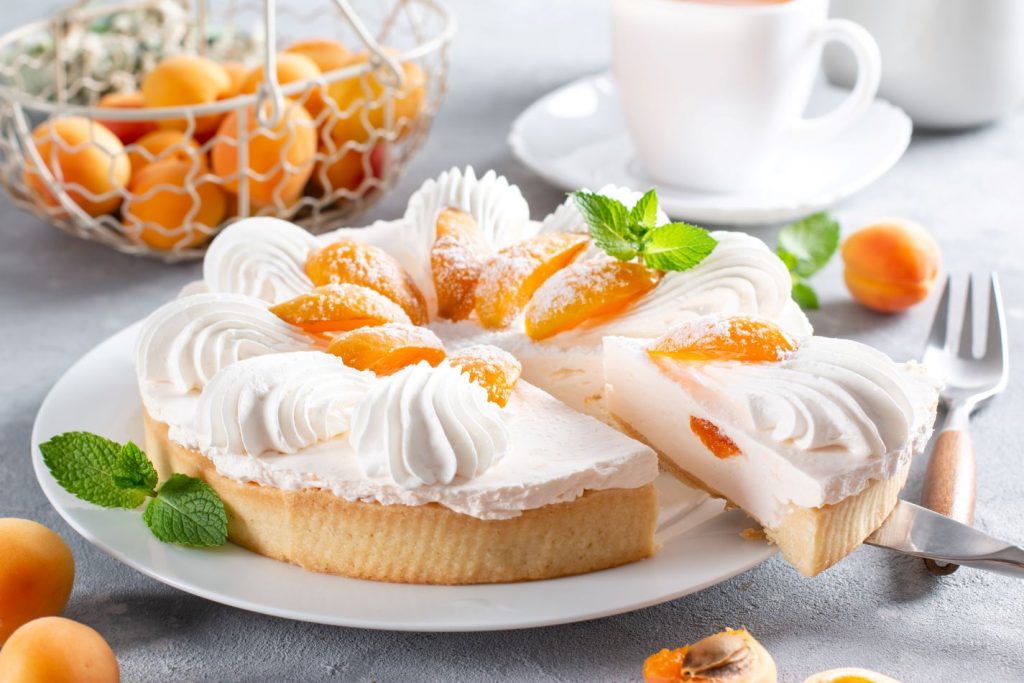
If you are looking for a fresh and tasty snack to accompany your summer days, the frozen yogurt cake is perfect for you! Quick and easy to prepare, this dessert does not need any cooking and can be garnished with your favorite jam or seasonal fruit, that’s why it suits every taste.
Let’s find out together how to prepare it and its variations.
Ingredients
For the base you will need:
- 280 g of dry biscuits
- 170 g of butter
- 30 g of brown sugar
For the yogurt cream:
- 700 g of natural plain yogurt
- 60 g of whole milk
- 20 g of gelatin sheets
- 300 ml of fresh cream
- 50 g of icing sugar
How to prepare the frozen yogurt cake
To prepare the base of your cake, you just need to follow the steps below:
- Butter a mold and line it with baking paper.
- Melt the butter in a saucepan and then let it cool.
- In the meantime, pour the biscuits into the mixer and blend them until they become powder.
- Transfer the biscuit powder into a bowl, add the brown sugar and melted butter.
- Mix with a spatula until it becomes compact and pasty, then transfer it to the pan and start flattening the base thoroughly with a spoon.
- Let the cake base rest in the refrigerator for approximately 30 minutes.
Meanwhile, you can proceed with the preparation of your yogurt cream:
- Soften the gelatin sheets in a bowl full of cold water for 10 minutes.
- Heat the milk in a saucepan and, once the jelly is ready, squeeze it and pour it into the hot milk with the heat off.
- Mix with a whisk to dissolve the gelatin and once you have obtained a smooth mixture, leave it to cool.
- In the meantime, pour the cream into a bowl, whip it with an electric whisk until it becomes frothy.
- Pour the yogurt, milk and gelatin into another container and mix to combine everything. Then add the whipped cream and mix gently with a spatula from bottom to top to maintain the consistency.
- Retrieve the base from the refrigerator and add the cream, leveling it with a spatula; let everything rest again in the refrigerator for 4/5 hours.
Once the cake has cooled, you can unleash your artistic flair and create the decoration that inspires you the most.
Choosing your covering and decorations
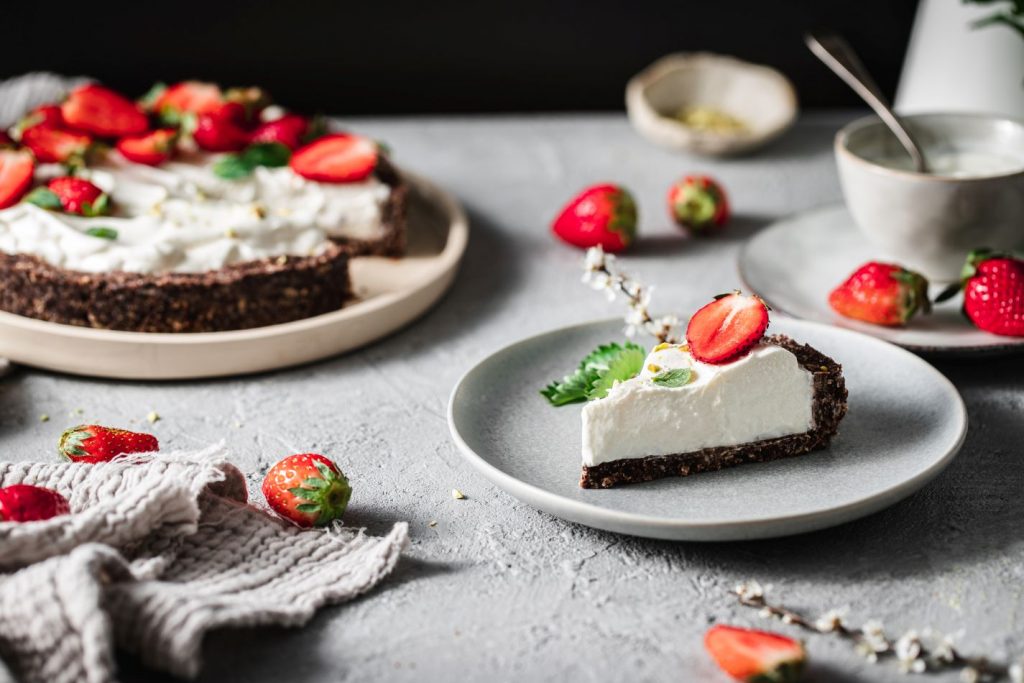
The decorations arem of coursem a personal choice. That’s why the topping can vary from more delicious versions made of jam, to more elegant ones made of fresh fruits, giving an extra touch of sour sweetness to the natural flavour of the yogurt
The frozen yogurt cake goes perfectly with the intense flavour of cherry jam, but also with strawberry and berry jam. Otherwise, for a lighter variant, fresh red fruits such as raspberries, blueberries and strawberries will give your cake a unique refinement, making it the perfect snack for both adults and children.
Preservation
The cake can be stored in the refrigerator for up to 4 days, or it can be frozen in an airtight container. In case of long storage we sugget to not garnishing it, you will add fresh decorations when you’ll serve the cake.
The “low-calorie” version: without cream
If you are looking for a tasty but at the same time light and dietary snack to include in your daily routine, you can opt for the “low-calorie” version of the yogurt cake.
The result? Same flavor and taste with fewer ingredients – such as milk and cream – and different quantities. Perfect for a sweet breakfast, but also for a tasty snack or a cuddle after dinner.
Ingredients
- 180 g of dry biscuits
- 100 g of melted butter
- 750 g of yogurt
- 40 g of sugar
- 8 g of gelatin
Preparing the frozen yogurt cake without cream
To prepare the base of your cake you can follow the procedure described above. As concerned the cream, you just need to rehydrate the gelatin in water and dissolve it in the microwave, then add it to the yogurt and sugar. Once you have poured the mixture over your base, you’re done. Let the cake rest for a few hours in the fridge and get ready to taste it.
Enjoy your meal!